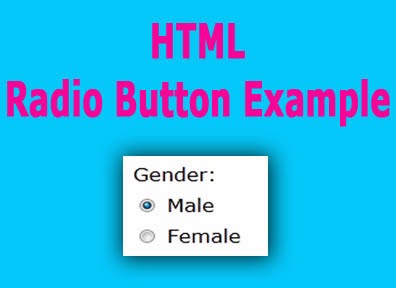
Hello friends, here is a descriptive tutorial of how to create radio button in HTML (HyperText Markup Language). This radio button creation tutorial contains all most common used attributs with example codes.
 |
| HTML Radio Button Example |
Radio button tag can be written inside the <form> tag, so <form> tag is parent tag of radio button tag.
Here is the syntax of radio button creation.
Syntax of radio button:
checked attribute:
Checked attribute is used to check-mark radio button. By default radio button is not checked, to make by default checked use checked="checked".
For example:
To make radio button disable then use disabled attribute. We can not interact with disabled radio button.
For example:
This attribute is available in all HTML elements. Use of this attribute is to give name of particular element.
NOTE: In radio button name is important attribute. To make group of radio button then give same name to each radio button. If you give different name to each radio button then all radio button can be checked, but it is not nature of radio button. Only one radio button is selected at a time.
For example:
This attribute specifies tab order of an element when you use tab key for navigation.
For example:
Value attribute is used to set value for radio button. Set value is used in submitted page. In short, when you submit form than that value is passed to actioned page.
For example:
Read How To Create Checkbox In HTML
Read How To Create Table In HTML
Read How To Create Text and Password Fields In HTML
Read How To Create Table In HTML
Read How To Create Text and Password Fields In HTML
Here is the syntax of radio button creation.
Syntax of radio button:
<form>
 <input type="radio" />
</form>
- checked
- disabled
- name
- tabindex
- value
checked attribute:
Checked attribute is used to check-mark radio button. By default radio button is not checked, to make by default checked use checked="checked".
For example:
<form>
 <input type="radio" checked="checked" />
</form>
To make radio button disable then use disabled attribute. We can not interact with disabled radio button.
For example:
<form>
 <input type="radio" disabled="disabled" />
</form>
This attribute is available in all HTML elements. Use of this attribute is to give name of particular element.
NOTE: In radio button name is important attribute. To make group of radio button then give same name to each radio button. If you give different name to each radio button then all radio button can be checked, but it is not nature of radio button. Only one radio button is selected at a time.
For example:
<form>
 <input type="radio" name="gender" /> Male
 <input type="radio" name="gender" /> Female
</form>
This attribute specifies tab order of an element when you use tab key for navigation.
For example:
<form>
 <input type="radio" tabindex="2" />
 <input type="radio" tabindex="1" />
</form>
Value attribute is used to set value for radio button. Set value is used in submitted page. In short, when you submit form than that value is passed to actioned page.
For example:
<form>
 <input type="radio" value="male" />
 <input type="radio" value="female" />
</form>
<form>
 Gender: <br />
 <input type="radio" name="gender" tabindex="1"
  value="male" checked="checked" /> Male
 <br />
 <input type="radio" name="gender" tabindex="2"
  value="female" /> Female
</form>


0 comments :
Post a Comment